Tell you a few problems encountered when installing ATV carburetor
1. Checking the Intake Manifold: Before installing an ATV carburetor, check the intake manifold and the carburetor flange for dirt, debris, and any signs of corrosion or wear. If any of the components are damaged or corroded, then they should be replaced.
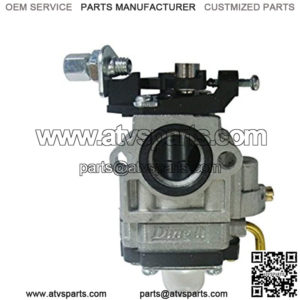
2. Installing the Correct Carburetor: It’s important to install the correct carburetor model on an ATV. If the model isn’t the correct one, they won’t fit properly and could cause issues with the engine’s performance. Therefore, it’s important to research what model and size you need before installing the carburetor.
3. Sealing the Intake Manifold: To ensure an airtight seal between the intake manifold and the carburetor flange, a gasket should be used. This gasket should be of the highest quality to ensure it won’t fail over time and cause a vacuum leak.
4. Adjusting the Float Level: After installation, it’s important to adjust the float level. This adjustment is necessary to ensure fuel is delivered to the engine at the correct level. If the float level is set too low, fuel will not be delivered properly and the engine may not run correctly.
5. Setting the Idle Speed: The idle speed can be adjusted either by adjusting the carburetor’s idle mixture screw or with an electronic control unit. This adjustment should be made after the float level is set and the engine is warmed up.
6. Connecting the Fuel Lines: Fuel lines must be securely connected to the carburetor and should be routed in such a way to avoid kinks and bends that could cause fuel starvation. In addition, rubber fuel lines should be checked for cracks or other damage.
“Keyword”
“carburetor problems symptoms”
“how to fix carburetor problems”
“what does a bad carburetor sound like”